


How to Customize the Outlook 2013 Navigation Bar
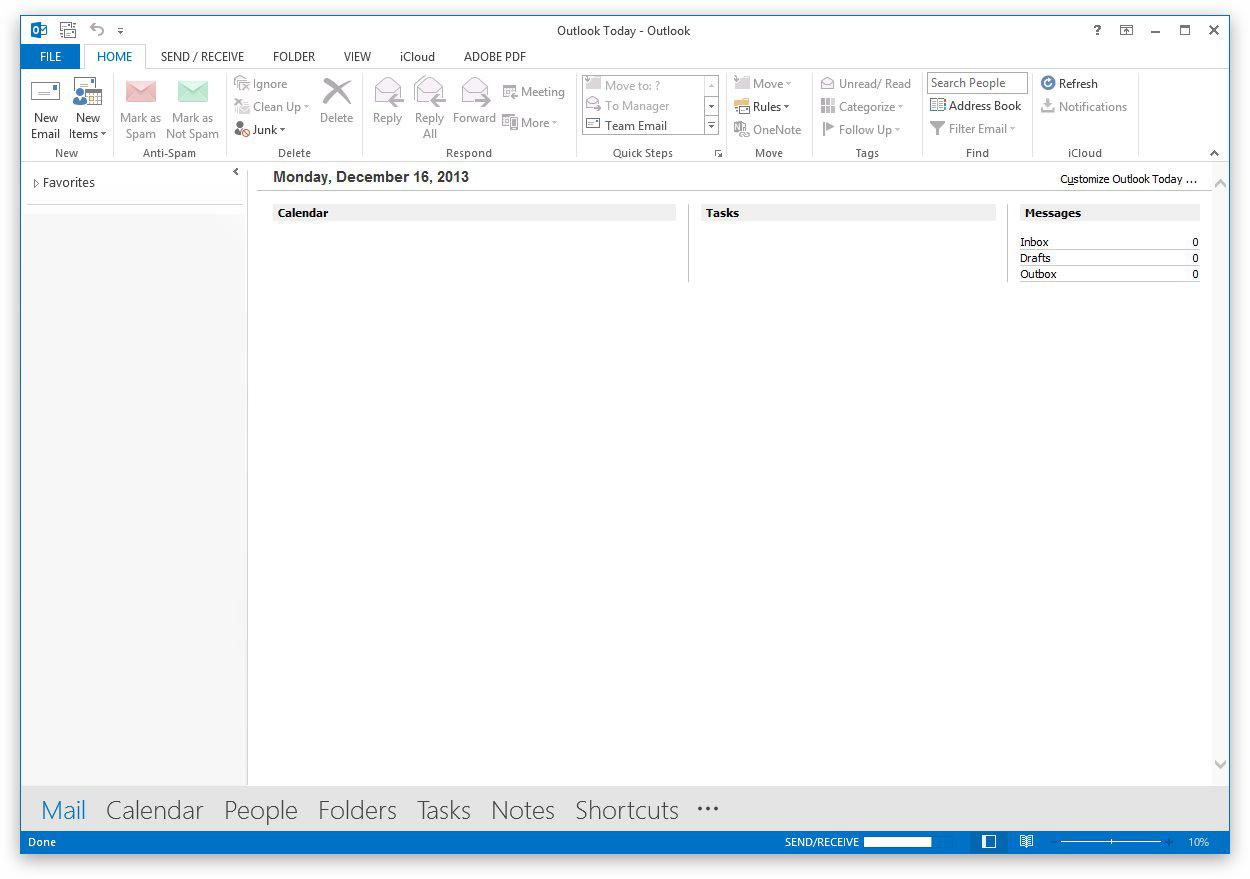
Outlook 2013 introduces many new Microsoft design elements, including a large buttonless navigation bar.
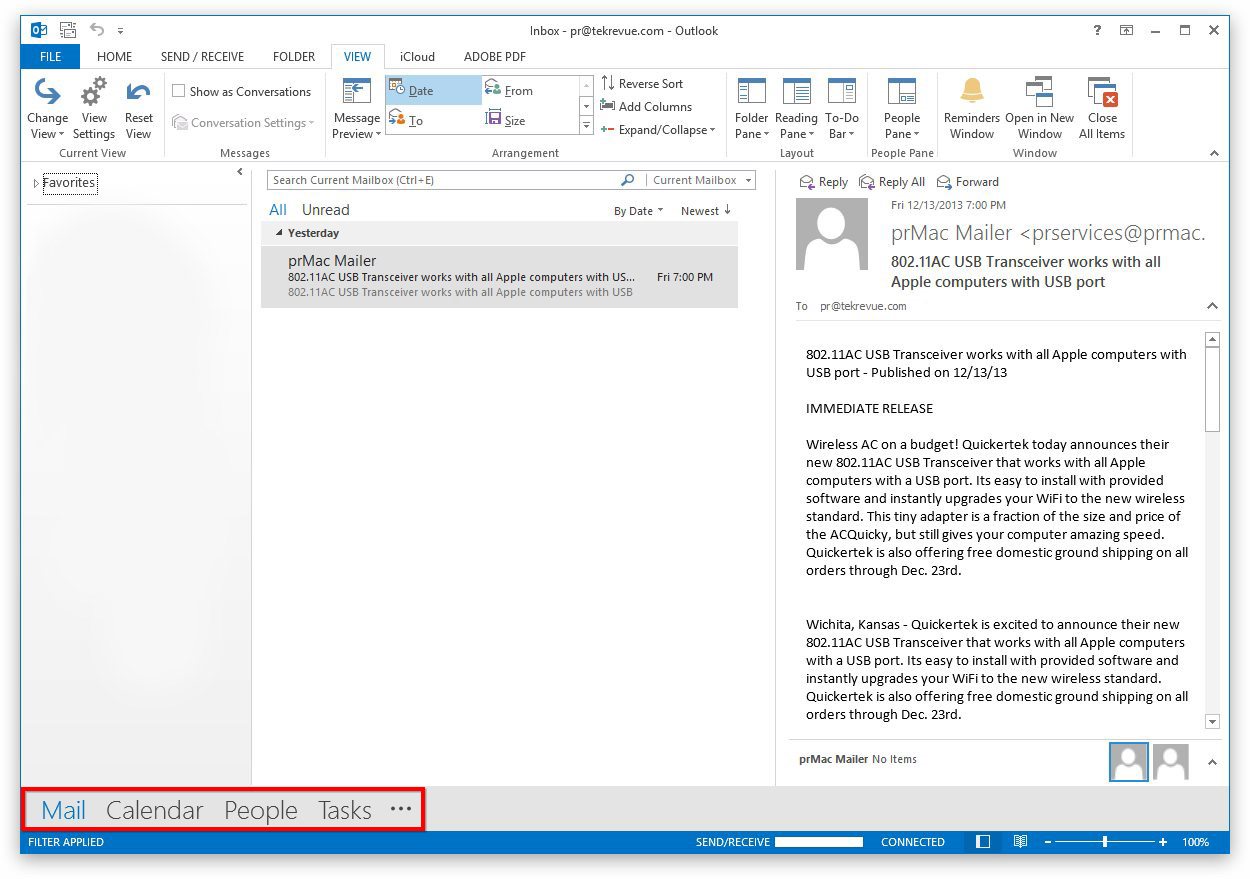
This bar is easy to use and stands out well thanks to the oversized fonts, but if you have a smaller display, or if you simply don’t like the new design, you’ll likely find it awkward and annoying. Here’s how to customize the Outlook 2013 navigation bar.
Make the Outlook 2013 Navigation Bar Smaller
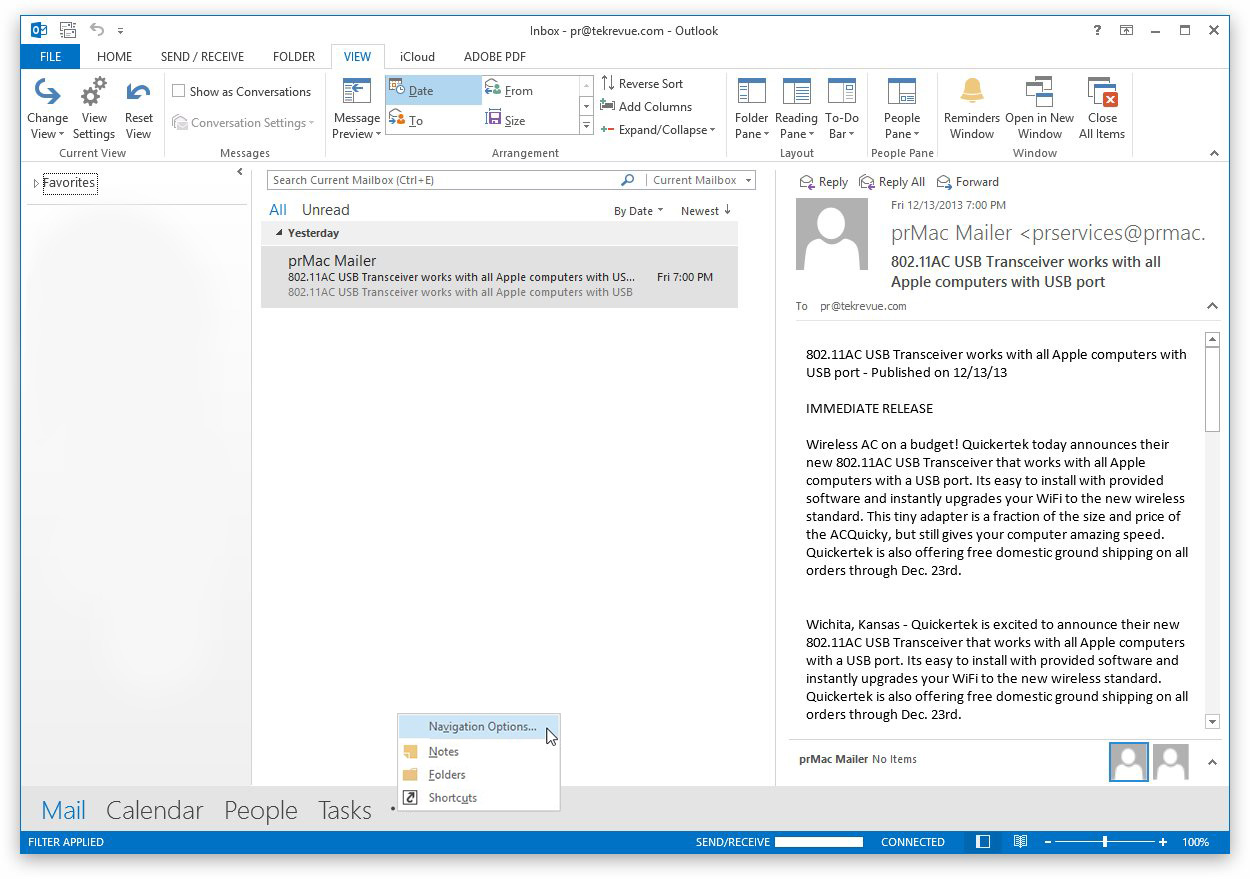
To change the Outlook navigation bar to something smaller and more traditional, click the three dots on the right side of the bar (after “Tasks” in our screenshot, although your copy of Outlook may have items in a different order depending on how it was configured). Then click Navigation Options.
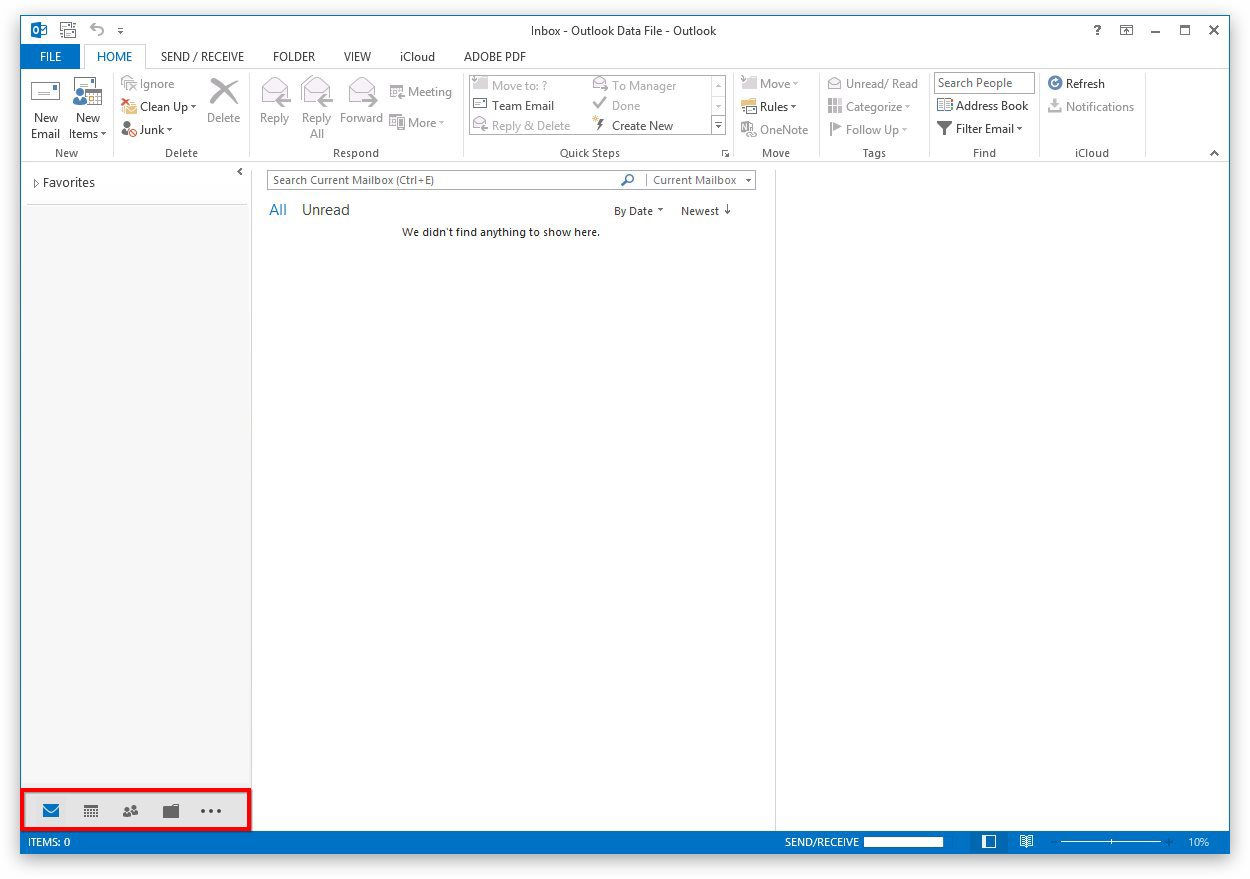
In the Navigation Options window, check the box for “Compact Navigation” and press OK. You’ll now see that your Outlook navigation bar is presented with traditional icons, neatly tucked into the app’s sidebar. You can always reverse this change by following the steps above again and unchecking the “Compact Navigation” box.
Customize the Outlook 2013 Navigation Bar’s Entries
By default, Outlook 2013 shows four items in the Navigation bar: Mail, Calendar, People, and Tasks. However, there are other components of Outlook that are hidden, including Notes, Folders, and Shortcuts.
Users have complete control over which items to display in the navigation bar, and their order. To get started, head back to the Navigation Options window, referenced above, by clicking on the three dots at the end of the bar.

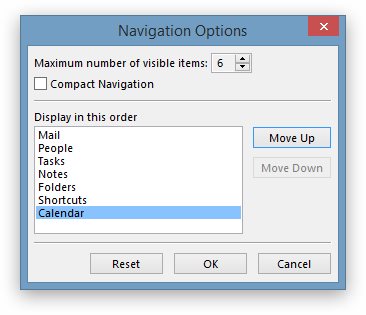
First, we can change the number of items displayed instead of the default four, from just a single item to all seven. You can set this number with the “Maximum number of visible items” selector. Just pick how many items you want on your Outlook navigation bar and use the arrow keys to set that number in the box. Note that if you’re using the compact navigation view, you may need to resize the Outlook sidebar to see all desired items.
Once you’ve decided on the number of items, you can also manually reorder them to suit your workflow. In the same Navigation Options window, change the default order of bar items by selecting an item and clicking on Move Up or Move Down. As an example, let’s say that you use Outlook for Mail and Contacts, but not for Calendars. To keep the Outlook calendar out of the way, you could select it in the Navigation Options window and press “Move Down” until it’s positioned at the bottom. Then, simply set the maximum number of visible items to a value less than seven and you won’t see the Calendar button again.
Via a combination of these two methods, users can customize Outlook 2013’s navigation bar to suit their needs. If you play around with the options too much and want to go back to the default configuration, simply visit the Navigation Options window again and press Reset.


4 thoughts on “How to Customize the Outlook 2013 Navigation Bar”