


How to Create a macOS Sierra USB Installer for the Developer Preview
The macOS Sierra Developer Preview is here and will soon be followed up with a Public Beta later this summer. While Apple makes installing macOS Sierra easy via the Mac App Store, some users prefer to create their own USB installers that can be used to upgrade multiple Macs or install macOS from scratch on an empty drive.
Here’s how to create a macOS Sierra USB Installer for the Developer Preview. Note that these instructions will vary for the Public Beta and eventual final version of macOS Sierra, and we will provide updated instructions for these versions as they are released.
Step 1: Download the macOS Sierra Installer from the Mac App Store
To create a macOS Sierra USB Installer, you first need to download the operating system from the Mac App Store. Registered developers will receive a Mac App Store redemption code for macOS Sierra via the Apple Developer portal. It is still possible to obtain and install macOS Sierra if you are not a registered developer or beta tester, but be wary of using installers obtained from sources other than Apple, as using them is a violation of Apple’s licensing agreements and they may have been modified to contain malware.
Once you have downloaded macOS Sierra from the Mac App Store, the upgrade installer app will automatically launch. Quit it by pressing Command-Q on your keyboard.
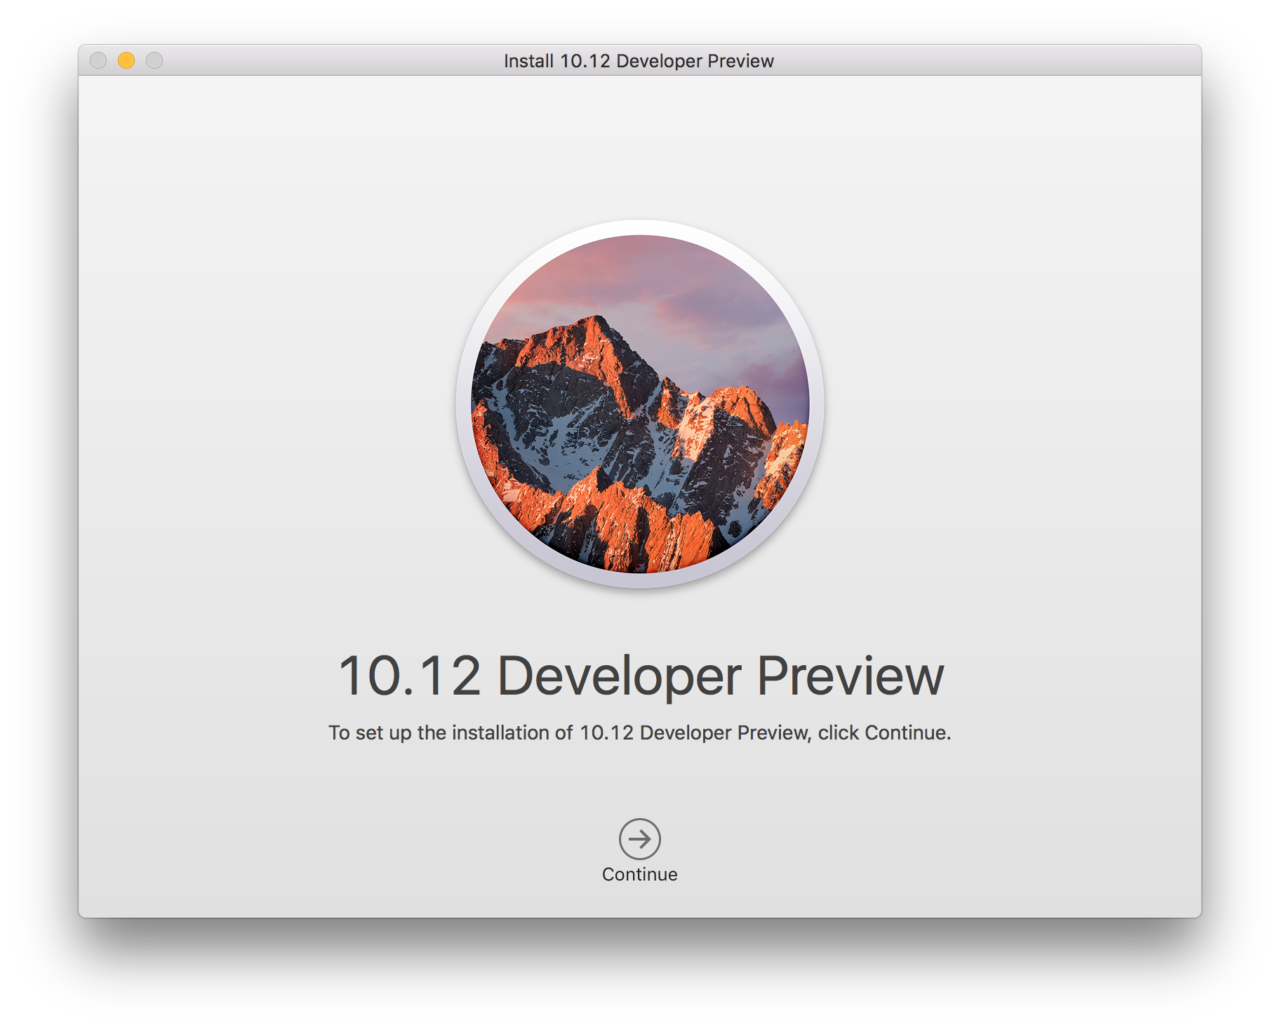
Now check your Applications folder to verify that you have the Developer Preview installer, as the instructions for creating the USB installer are dependent on the name of the installer application. As of the date of this tip, the name of the macOS Sierra Developer Preview installer is Install 10.12 Developer Preview.app.
Step 2: Prepare Your USB Drive
Next, grab a USB 2.0 or USB 3.0 drive that is at least 8GB in size. Make sure that you don’t have any important files on this drive as we will be wiping the drive before creating the installer.
Plug your USB drive into your Mac and launch the Disk Utility app. Find the USB drive listed on the left side of the window, click to select it, and then click Erase in the toolbar.
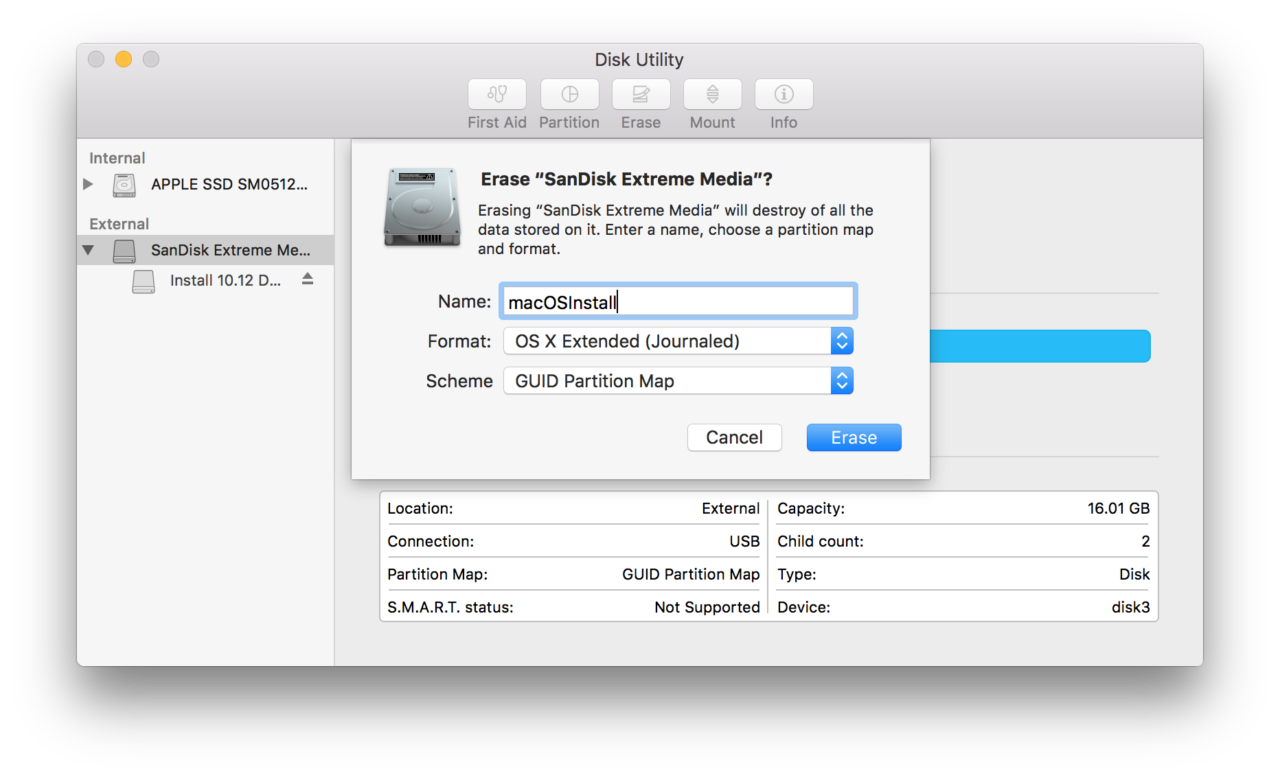
Ensure that “Scheme” is set to GUID Partition Map, “Format” is set to OS X Extended (Journaled), and then finally name the drive macOSInstall. This name is simply to ensure compatibility with the installation commands below, and the name of the drive will be changed after the installer setup is complete. To complete the process, click Erase.
Step 3: Create the macOS Sierra USB Installer
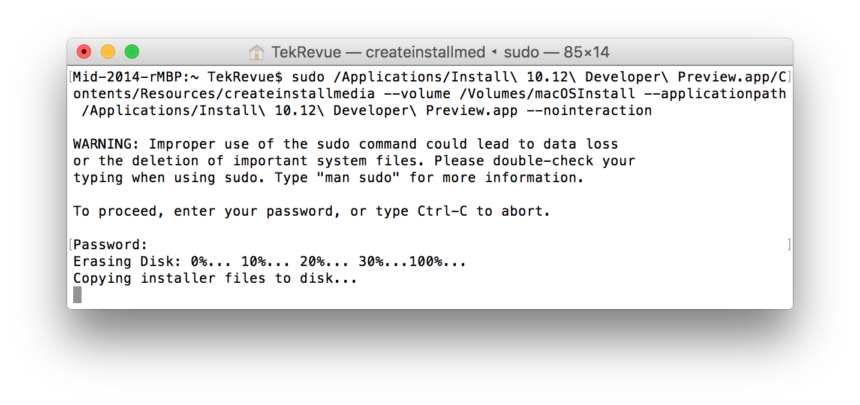
Launch Terminal and then copy and paste the following command:
sudo /Applications/Install 10.12 Developer Preview.app/Contents/Resources/createinstallmedia --volume /Volumes/macOSInstall --applicationpath /Applications/Install 10.12 Developer Preview.app --nointeraction
This is a sudo command, so you’ll need to enter your Mac’s admin password. As long as the names of your Sierra installation app and USB drive match those mentioned above, Terminal will use the createinstallmedia command to copy the macOS Sierra installation files to your USB drive and make it bootable. Depending on the speed of your USB drive, this process can take between 2 and 15 minutes. Just make sure not to interrupt the process.
When the macOS Sierra USB installer is ready, Terminal will print “Done” and then return you to your user account command line. You can now quit Terminal, eject your USB drive, and proceed to install macOS Sierra on any compatible Mac.
Step 4: Installing macOS Sierra from the USB Drive
Once you have your macOS Sierra USB Installer ready, you can use it to install the operating system in one of two ways. First, you can use it to upgrade existing OS X installations to Sierra, similarly to how the Sierra install application downloaded from the Mac App Store works.
Just boot into OS X on a Sierra-compatible Mac, plug in your USB drive, open the drive in Finder, and double click the macOS Sierra installer app file. This lets you upgrade multiple Macs without having to download the Sierra installer from the Mac App Store each time.
The second method, and the one that is more useful with USB installers, is to perform a clean install by booting to the Sierra USB Installer and either installing macOS Sierra from scratch on a new drive, wiping your existing drive, or installing to a new partition.
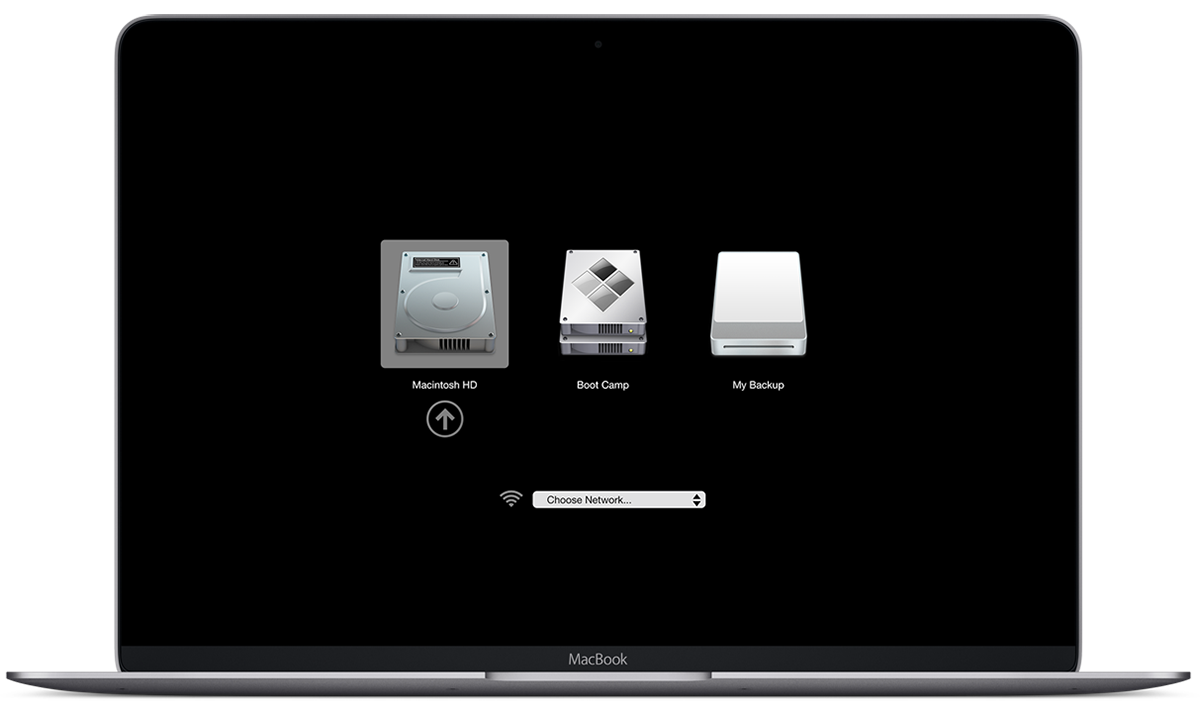
To boot from your macOS Sierra USB Installer, first shut down your Mac and connect the USB drive. Then, simply power on your Mac while holding the Alt/Option key on your keyboard. Keep holding Alt/Option until you see the boot menu appear, select your USB installer, and press Return to boot into the Sierra install environment from your USB drive.


One thought on “How to Create a macOS Sierra USB Installer for the Developer Preview”
checkbox and now whenever a comment is added I get four emails with the exact same comment.
Perhaps there is an easy method you can remove me from that service?
Thanks!