


How to Use Mail Filters in macOS Sierra

Apple’s new version of macOS, dubbed Sierra, offers an interesting way to look at your messages in the Mail program: Mail Filters.
In a nutshell, these filters allow you to filter the emails in your currently viewed mailbox for certain criteria. For example, you can use Mail Filters to show only unread emails, or emails from someone on your VIP list. It’s handy and also kinda fun, so let’s learn how to use Mail filters in Sierra!
Turning Mail Filters On or Off
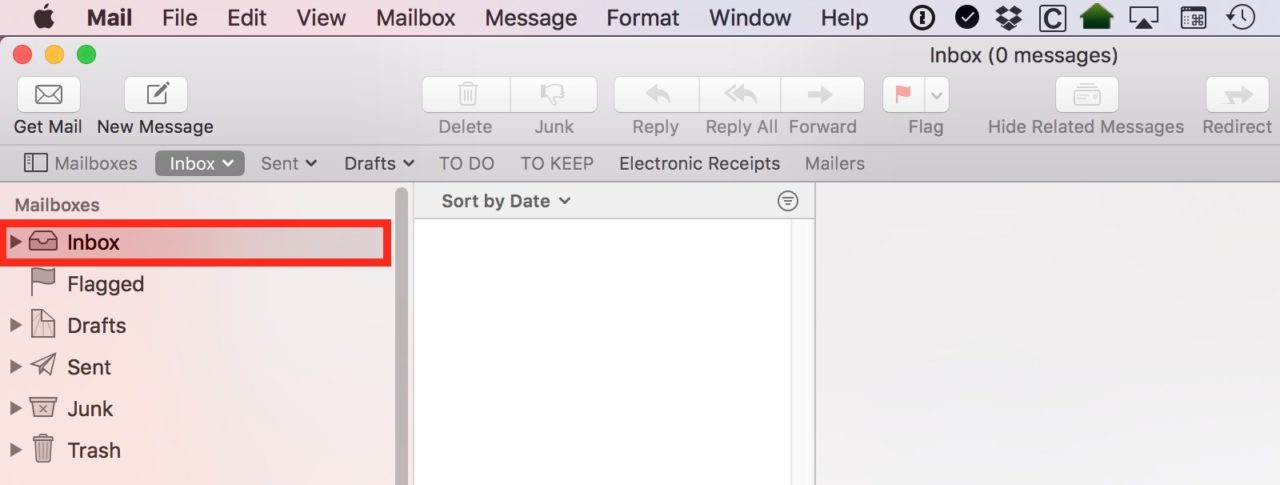
First, since filters are set up on a per-mailbox basis, you’ll first need to select one of your mailboxes from the Finder sidebar. In my example below, I’ve selected the master inbox, which includes everything from the inboxes of all of my email accounts.
Next, look for the teeny circular button containing three horizontal lines at the top of the message list. This is the filter button, and it’s called out by the red arrow in the screenshot below.
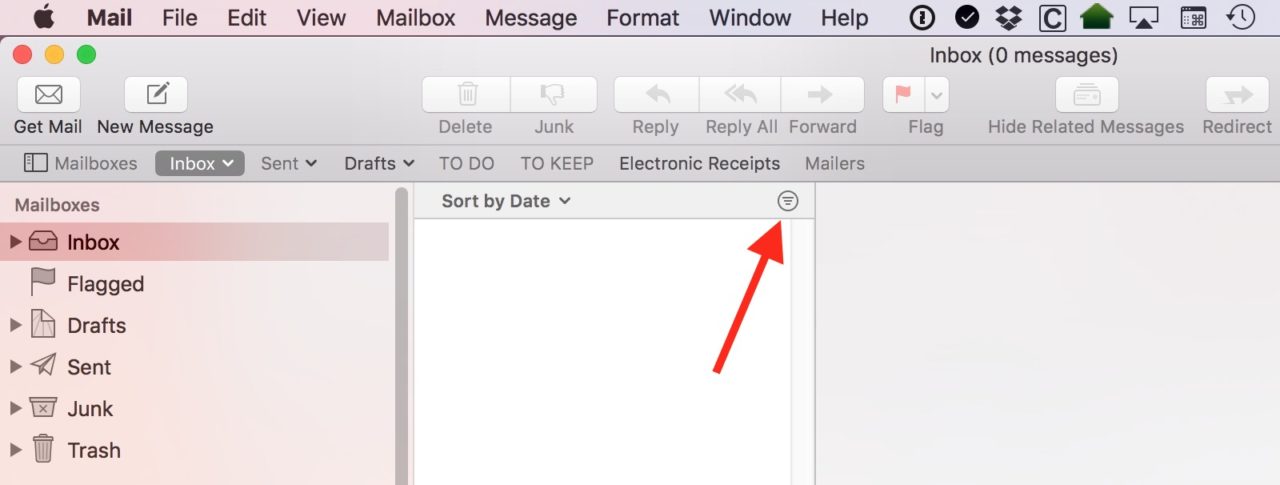
Clicking this button turns the filtered view on, and will show you only the messages which meet your filter criteria. Alternatively, you can activate or deactivate the filter view by pressing the keyboard shortcut Command-L.
Configuring Mail Filters
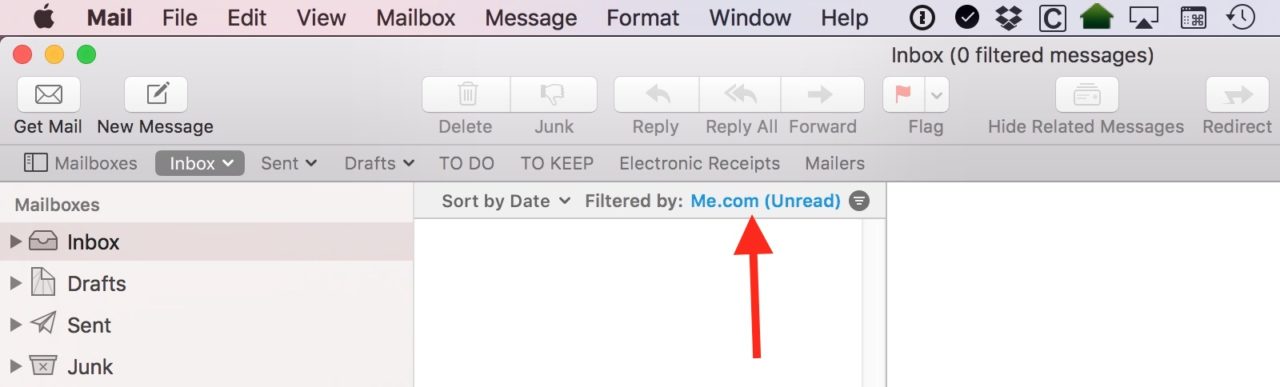
So how do you configure your Mail Filter criteria? Well, the blue text that I’ve called out below is actually clickable. Got it? Select the circular button to turn filters on (or off), and click the text to adjust the filters themselves.
After clicking on that text, you’ll see a list of filter criteria appear in a pop-up menu.
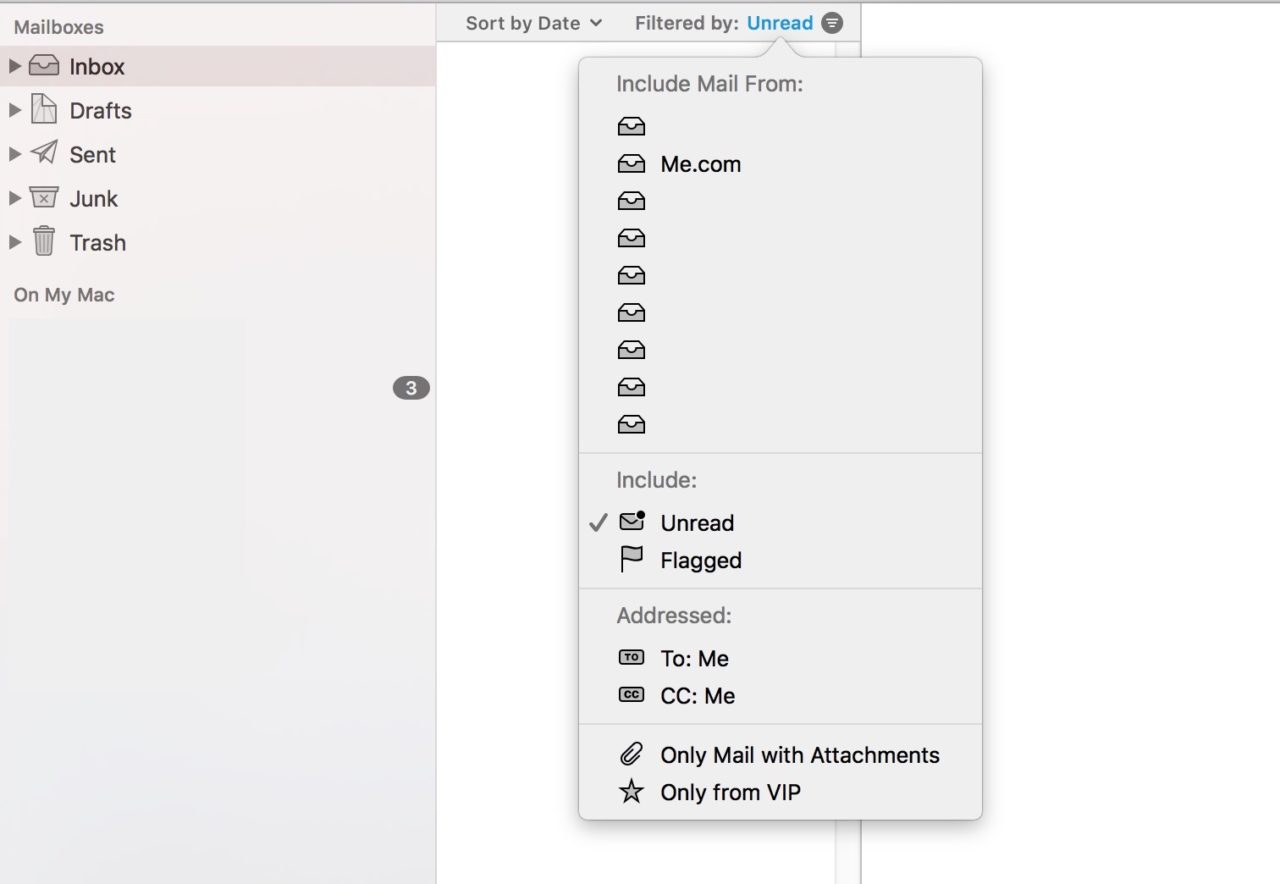
The top section there—“Include Mail From”—will only show up if what you originally picked in the sidebar was a mailbox with multiple accounts under it, like that master inbox I highlighted in my first screenshot. Using that section, then, you could select only certain accounts to include in your Filtered view. This would be useful if you wanted to create a filter that showed only the unread messages from a few work-related email addresses that you use, for example.
The remaining Filter criteria are just on/off switches for what you’d like to see when you turn your filter on.
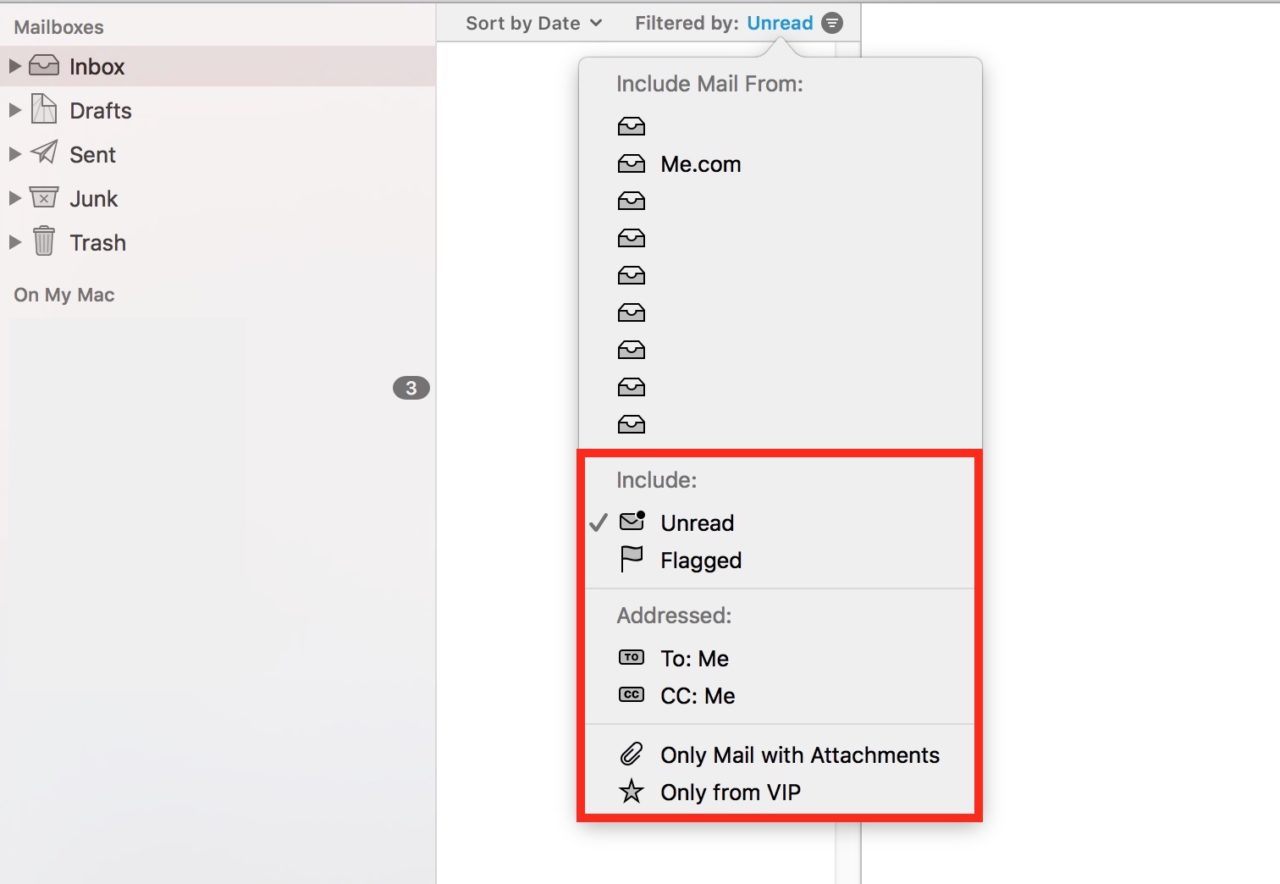
For example, if you need the filter to include both unread and flagged messages, click both of those items to select them. Or if you only want your filter to show you emails from your VIPs, then choose that option. Whenever a particular filter setting is turned on, a check mark will appear beside its name.
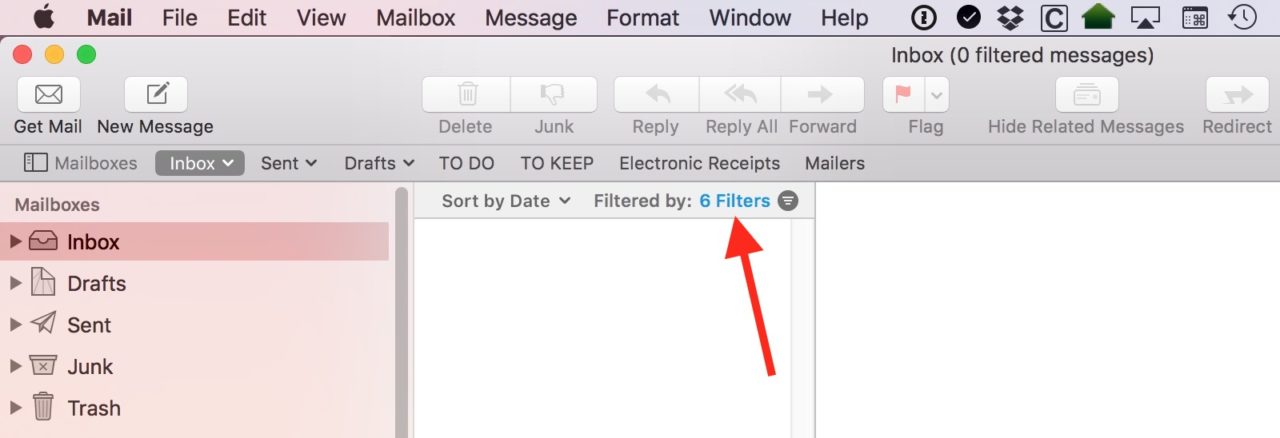
When you’re done configuring your criteria, just click anywhere outside of the filter box to close it, and especially if you chose a lot of stuff, Mail will give you a somewhat non-descriptive header indicating which ones are currently active. In my example screenshot below, I’ve activated six criteria for my filtered view.
To turn the filters off and show all of the messages in that mailbox, click the circular icon again (or use the keyboard shortcut Command-L). As I mentioned earlier, filters are configured on a per-mailbox basis, so you could have entirely different filters for your inbox than you do for your trash.
Enjoy the filtering, and don’t forget to toggle it off when you’re done. Nothing’s more confusing than turning on a bunch of filters and wondering why your inbox is empty when it shouldn’t be.


